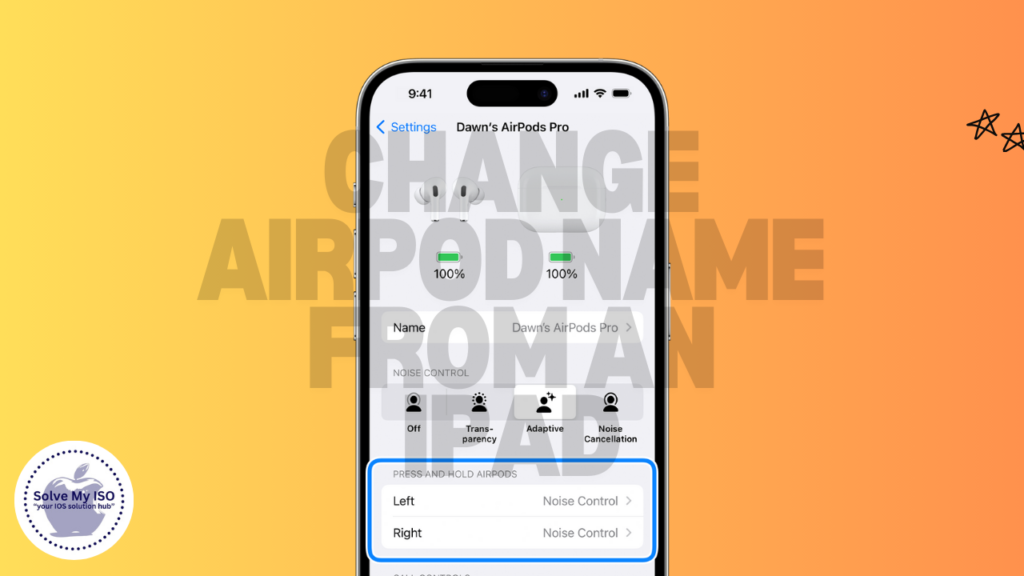
Are your AirPods still showing as “John’s AirPods” even though they’re yours? Customizing the name can make your device truly feel like your own, and it’s a great way to keep track of your gadgets. In this guide, we’ll show you how to change AirPod name on your iPad, making it easy to personalize your devices. Whether you’re a seasoned Apple user or just getting started, these steps are straightforward and easy to follow.
Why Customize Your AirPods?
Customizing your AirPod name isn’t just about aesthetics. It helps in managing multiple devices, makes it easier to identify your AirPods in crowded places, and adds a personal touch that reflects your style. From showing off your unique flair to simplifying device management, there are plenty of reasons to take a moment and rename your AirPods using your iPad.
Preparation Steps
Ensure Your AirPods are Connected
Before we start, make sure your AirPods are connected to your iPad (Apple AirPods). Here’s how:
- Open the Charging Case: With your AirPods inside, open the lid near your iPad.
- Wait for the Connection: A pop-up should appear on your iPad screen. If connected, you’ll see battery levels for both the AirPods and the case.
If you don’t see this pop-up or your AirPods aren’t connecting, try these troubleshooting tips:
- Check Bluetooth: Ensure Bluetooth is turned on in your iPad settings (Bluetooth Settings).
- Restart Devices: Restart both your iPad and AirPods.
- Forget Device: Go to Bluetooth settings, forget the AirPods, and reconnect them.
Update Your iPad to the Latest iOS
Having the latest iOS version ensures compatibility and smooth operation (iOS Update). To update your iPad:
- Open Settings on your iPad.
- Tap General, then Software Update.
- Download and Install any available updates.
Regular updates not only bring new features but also fix bugs and improve security, making your experience seamless.
Navigating to Bluetooth Settings
Accessing iPad Settings
Finding the right settings on your iPad is the first step to renaming your AirPods (iPad Settings). Follow these steps:
- Open the Settings App on your iPad. It’s the gear icon usually found on the home screen.
- Scroll Down to find various options like Wi-Fi, Bluetooth, and General.
Navigating through the settings interface can seem daunting, but once you know where to look, it’s quite simple.
Finding Bluetooth Settings
You’ll need to be in the right section to change the AirPod name (Bluetooth on iPad). Here’s how to find it:
- Tap Bluetooth in the Settings menu.
- Ensure Bluetooth is On – the toggle should be green.
- Locate Your AirPods in the My Devices list.
If your AirPods aren’t listed, try reconnecting them by opening the case near your iPad and following the on-screen prompts.
Renaming Your AirPods
Locating Your AirPods in Bluetooth Settings
Now that you’re in the Bluetooth menu:
- Find Your AirPods in the list of connected devices.
- Tap the “i” Icon next to your AirPods’ name.
This will open the detailed settings for your AirPods, where you can make changes.
Accessing the Name Edit Option
To change the name:
- Tap on the Current Name of your AirPods.
- A Text Box will appear, allowing you to edit the name.
Seeing the edit option means you’re on the right track, and you’re just a few steps away from personalizing your AirPods.
Change AirPod Name
Here comes the fun part:
- Enter a New Name in the text box.
- Tap Done on your keyboard to save the changes.
Choose a name that’s unique and recognizable. It could be something personal or a nickname for your AirPods. For example, “Anna’s Beats” or “Travel Tunes.”
Finalizing and Confirming the Name Change
Verifying the Name Change
Once you’ve renamed your AirPods:
- Go Back to Bluetooth Settings.
- Check the List of connected devices to ensure the new name appears.
- Test it Out in different apps and settings.
This confirmation ensures that the changes have taken effect across all platforms.
Troubleshooting Common Issues
If you encounter problems:
- Reboot Your iPad and AirPods.
- Recheck Bluetooth Connection.
- Ensure Both Devices Are Updated to the latest software (Apple Support).
If issues persist, contacting Apple Support might be necessary to resolve more complex problems.
Additional Customization Tips
Other Ways to Customize Your AirPods
There’s more to personalization than just changing the name (AirPod Settings):
- Change the Double-Tap Function by accessing the AirPod settings in Bluetooth.
- Adjust Noise Cancellation for AirPods Pro users.
- Enable Announce Calls and Messages for hands-free communication.
Personalizing these settings can enhance your overall experience with AirPods.
Managing Devices with Apple ID
Using your Apple ID, you can manage all your devices efficiently (Apple ID Management):
- Open Settings on your iPad.
- Tap Your Name at the top.
- View All Devices connected to your Apple ID.
Keeping your Apple ID information up-to-date helps in seamless device management and access to all Apple services.
Conclusion
Changing the AirPod name from an iPad is a simple yet effective way to personalize your device and make it uniquely yours. From ensuring your AirPods are connected to finalizing the name change, the steps are straightforward and easy to follow.
If you enjoyed this guide and are looking to explore other iPad and AirPod settings, check out more tips and tricks at Solve My IOS. Happy customizing!


