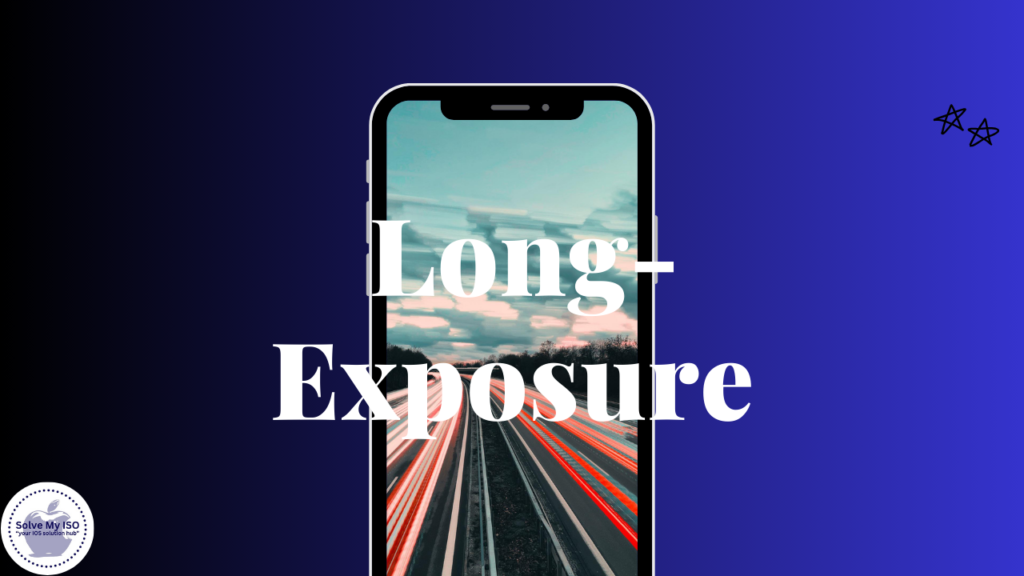
Long-exposure photography is a fascinating technique that can transform everyday scenes into mesmerizing visual stories. The magic of long-exposures lies in their ability to capture the passage of time, bringing elements like flowing water, bustling cityscapes, and starry night skies to life in a unique way. For amateur photographers and iPhone users alike, mastering this technique can significantly enhance your photography skills and open up a world of creative possibilities. In this comprehensive guide, how to take a long exposure photo on iphone.
Preparing for Long-Exposure Photography
Understanding the Basics
What is Long-Exposure Photography?
Long-exposure photography involves using a slow shutter speed to capture a scene over an extended period. This technique allows elements in motion, such as water, clouds, or lights, to blur or streak across the image, while static elements remain sharp and clear.
Key Terms and Concepts
- Shutter Speed: The length of time the camera’s sensor is exposed to light.
- ISO: The sensitivity of the camera sensor to light.
- Aperture: The opening in a lens through which light passes to enter the camera.
- Stabilization: Keeping the camera still to avoid blurring the entire image.
Requirements and Setup
Necessary Equipment and Accessories
While your iPhone itself is a powerful tool, a few additional items can help you achieve the best results:
- Tripod: Essential for keeping your iPhone steady during long exposures.
- iPhone Mount: Secure your iPhone to the tripod.
- Remote Shutter or Self-Timer: Minimize camera shake when taking the shot.
Choosing the Right Location and Time
The success of your long-exposure shots greatly depends on where and when you shoot:
- Location: Look for dynamic scenes with moving elements such as waterfalls, traffic, or waves.
- Time: Early mornings, late afternoons, or evenings often provide the best lighting conditions.
iPhone Settings and Preparations
Before diving into shooting, ensure your iPhone is set up for optimal performance:
- Update iOS: Make sure your iPhone’s software is up-to-date.
- Battery Check: Long-exposure shots can drain your battery quickly.
- Camera Settings: Use the highest quality settings available on your iPhone.
Step-by-Step Guide to Long-Exposure Photos on iPhone
Using iPhone’s Native Capabilities
How to Use the Live Photos Feature for Long-Exposure
Apple has made it surprisingly simple to capture long-exposure photos using the Live Photos feature. Here’s how:
- Enable Live Photos: Open the Camera app and ensure Live Photos is turned on (indicated by a yellow circular icon).
- Capture the Scene: Hold your iPhone steady and take a photo.
- Convert to Long-Exposure: Open the photo in your gallery, swipe up, and select “Long Exposure” from the effects options.
Remember, stabilization is key. Even slight movements can affect the clarity of your shot.
Tips for Stabilizing Your iPhone During Shooting
- Use a Tripod: A tripod is the most reliable way to keep your iPhone steady.
- Leverage Stable Surfaces: In the absence of a tripod, place your iPhone on a stable surface.
- Use the Timer: Set a 3 or 10-second timer to eliminate any shake from pressing the shutter button.
Advanced Techniques with Third-Party Apps
Recommended Apps for Long-Exposure Photography
For those looking to go beyond what the native camera app offers, several third-party apps can provide enhanced controls and features:
- Slow Shutter Cam: Offers various shutter speed settings and manual controls.
- Spectre Camera: Utilizes AI to create stunning long-exposure shots without noise.
- ProCam 8: Provides a comprehensive set of manual controls similar to a DSLR.
Step-by-Step Instructions Using a Popular App
Let’s take Slow Shutter Cam as an example:
- Install the App: Download and open Slow Shutter Cam.
- Set Up Your Shot: Choose your scene and stabilize your iPhone.
- Select Mode: Choose “Motion Blur” or “Light Trail” mode depending on your subject.
- Adjust Settings: Set the shutter speed and ISO. For motion blur, a longer shutter speed (e.g., 8-15 seconds) is ideal.
- Capture: Use a remote shutter or timer to take the photo.
Editing and Enhancing Long-Exposure Photos
Basic Editing Tips for Long-Exposure Effects
Once you have your long-exposure shot, a few basic edits can make it pop:
- Adjust Exposure: Balance out areas that are too bright or too dark.
- Enhance Colors: Use saturation and vibrancy adjustments to bring out colors.
- Crop and Align: Ensure your horizon is straight and crop any unnecessary elements.
Advanced Editing Techniques and Tools
For more advanced edits, consider using apps like Lightroom or Snapseed:
- Noise Reduction: Long exposures can introduce noise; use noise reduction tools to clean up your image.
- Selective Adjustments: Target specific areas for enhancements without affecting the entire photo.
- Filters and Presets: Apply filters or presets designed for long-exposure photography to achieve a specific look or style.
Common Challenges and Troubleshooting
Addressing Common Issues in Long-Exposure Photography with iPhone
Some common issues include:
- Blurry Images: Ensure your iPhone is stable and use a tripod.
- Overexposure: Use neutral density (ND) filters to reduce light entering the lens.
- Noise: Use apps with noise reduction features or lower the ISO setting.
Tips for Improving Photo Quality in Challenging Conditions
- Use Filters: ND filters can help manage exposure during bright conditions.
- Experiment with Settings: Don’t be afraid to tweak settings to find what works best for your scene.
- Post-Processing: Editing can drastically improve the quality of your long-exposure photos, so invest time in learning a good editing app.
By following this guide, you’ll be well on your way to mastering long-exposure photography with your iPhone. Embrace the creative possibilities, experiment with different techniques, and most importantly, have fun capturing the passage of time in your photos. Happy shooting!
For more comprehensive solutions and assistance with iPhone issues, visit Solvemyios