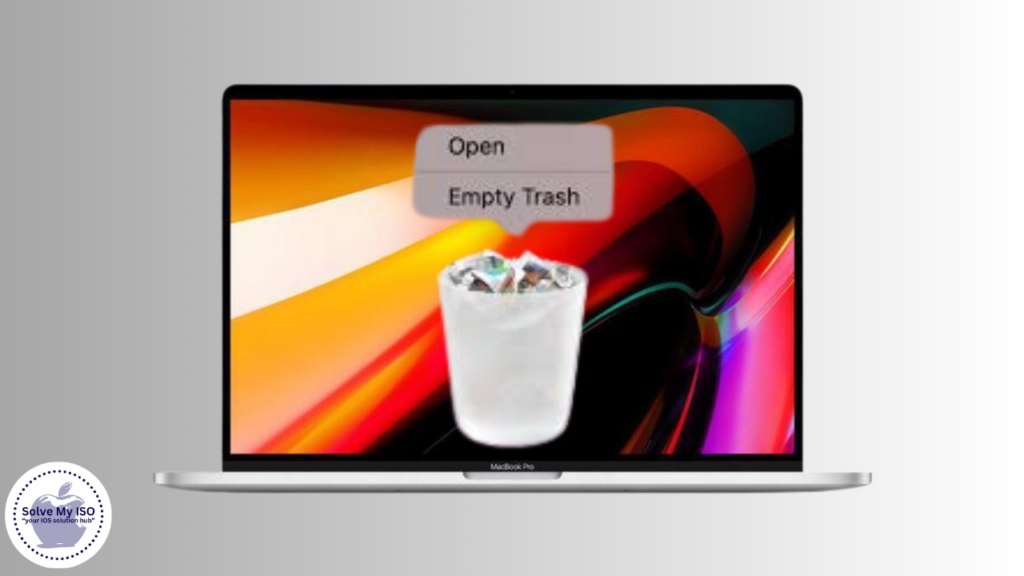
Regularly emptying the Trash on your Mac is crucial for maintaining optimal system performance and efficient storage management. Though it might seem like a minor task, properly managing your Trash can significantly improve your device’s functionality. In this comprehensive guide, we’ll walk you through everything you need to know about how Empty Trash on Mac. From basic methods to advanced tips, learn how to keep your Mac running smoothly and efficiently. Optimize your Mac’s performance by mastering Trash management today!
Understanding the Trash on Mac
The Trash folder on a Mac is essentially a holding area for files and folders that you have deleted. When you delete an item, it moves to the Trash folder rather than being permanently removed from your system. This allows you to recover items if you change your mind.
However, simply moving files to the Trash does not free up storage space. The items remain on your hard drive until the Trash is emptied. If left unmanaged, a full Trash folder can lead to decreased system performance, slower startup times, and insufficient storage space for new files.
Methods to Empty Trash on Mac
Manually Emptying the Trash
Manually emptying the Trash is one of the simplest methods. Here’s how you can do it:
- Via the Dock: Locate the Trash icon in your Dock. Right-click on the icon and select “Empty Trash.” Confirm your action in the pop-up dialog box.
- Using Finder: Open Finder and select “Go” in the menu bar. Choose “Go to Folder” and type `~/ .Trash` to open the Trash folder. Once inside, click on “File” in the menu bar and select “Empty Trash.”
Automatically Emptying the Trash
macOS provides an option to automatically empty the Trash after 30 days. This feature can be particularly useful for those who prefer a hands-off approach:
- Go to System Preferences and select Finder.
- Click on the Advanced tab.
- Check the box next to Remove items from the Trash after 30 days.
Pros and Cons of Automatic Emptying
Pros:
- Reduces the need for manual intervention.
- Helps maintain available storage space.
- Keeps your system optimized without regular checks.
Cons:
- Deleted items are permanently removed after 30 days, which may not be ideal if you need longer recovery periods.
Emptying Trash via Terminal
For those who prefer using command-line interfaces, Terminal offers another method to empty the Trash:
- Open Terminal from the Utilities folder.
- Type the command `sudo rm -rf ~/.Trash/*` and press Enter.
- Enter your administrator password when prompted.
Commands and Precautions
While Terminal is a powerful tool, it should be used with caution. Incorrect commands can lead to unintended file deletions or system issues. Ensure you double-check the command before execution.
Troubleshooting Trash Issues
Unable to Empty Trash
If you encounter problems emptying the Trash, such as files refusing to delete, try these solutions:
- Force Empty Trash: Hold the Option key while selecting “Empty Trash” in the Dock or Finder.
- Restart Your Mac: Sometimes, a simple restart can resolve the issue.
- Check File Permissions: Ensure you have the necessary permissions to delete the files.
Recovering Files from Trash
Accidentally deleted a file? Not to worry, you can recover it from the Trash:
- Drag and Drop: Open the Trash folder and drag the desired file back to its original location.
- Use Time Machine: If you have Time Machine backups, you can recover files even after the Trash has been emptied.
Advanced Tips and Tricks
Managing and Optimizing the Trash
For more advanced users, managing the Trash goes beyond basic emptying:
- Third-Party Apps: Tools like CleanMyMac and DaisyDisk offer enhanced Trash management, including secure file deletion and space analysis.
- Regular Maintenance: Set reminders to manually check and empty the Trash if automatic settings don’t suit your needs.
Best Practices for a Clean and Efficient Mac
- Regularly Backup: Always ensure important files are backed up before deleting.
- Monitor Storage: Keep an eye on your storage usage in System Preferences > Storage.
- Organize Files: Regularly sort through and organize your files to minimize clutter.
Conclusion
Emptying the Trash on your Mac is a simple yet crucial task for maintaining system performance and effective storage management. By understanding the different methods to clear the Trash, troubleshooting common issues, and employing advanced tips, you can keep your Mac running smoothly and efficiently. For more comprehensive solutions and assistance with MAC issues, visit Solvemyios
Frequently Asked Questions
By following these insights and guidelines, you’ll be well-equipped to manage your Mac’s Trash efficiently, ensuring a clean and optimized system.