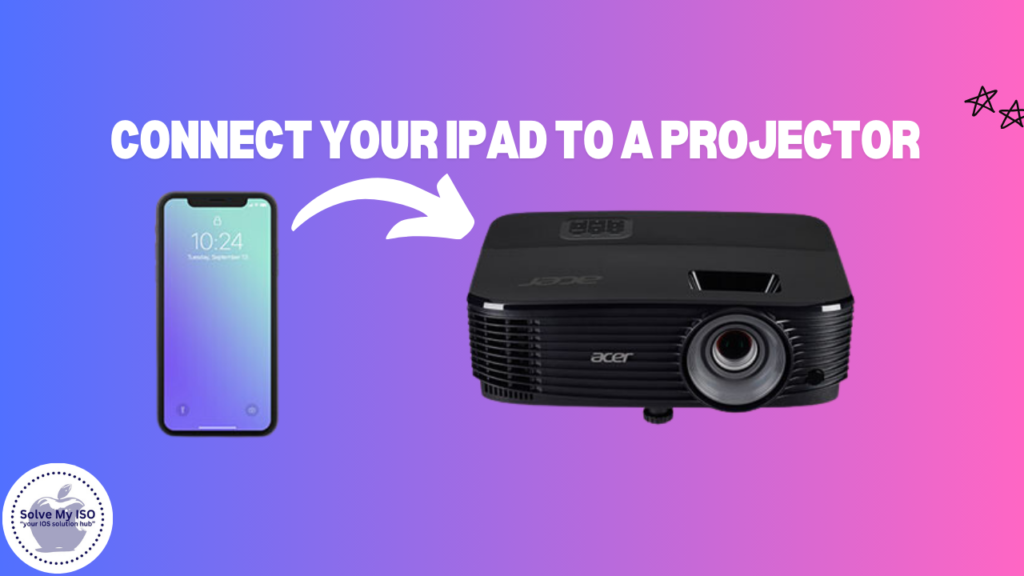
Mini projectors have become incredibly more attainable and useful in recent years so it is logical and common to want to pass the image displayed on an iPad to a more high form of pictures. At first glance, linking your iPad to a projector may appear to be a rather complicated task. With significant investment of time and materials, there is a way out. Regardless if it is a very important business presentation, a teacher giving a lecture, or a desire to watch a good movie on a big screen and iPad is a wonderful device for such purposes. In this in-depth article, we are going to look at how to connect your iPad to a projector in a few easy steps. That is never ending “WOW” when it comes to the way presentations can be given. Do you want to make your home family movie marathons better than going to the cinema?
Step 1: Determine Your Connection Type
Before you start, the first thing you need to do is figure out which type of connection you’ll be using—wired or wireless.
- Wired connection: If you prefer a more traditional approach, you’ll need an adapter (such as a Lightning to HDMI or VGA adapter) and a cable that matches your projector’s input. Most modern projectors use either HDMI or VGA ports, so make sure to choose the correct cable.
- Wireless connection: If you own an Apple TV or an Air Play-compatible projector, wireless is an excellent and hassle-free option. You can project content wirelessly by using Air Play, which mirrors your iPad’s screen onto the projector.
Step 2: Gather Your Tools
After choosing your connection type, it’s time to gather the necessary tools.
For wired connections, you will need:
- Lightning to HDMI or VGA adapter: Depending on the type of input your projector supports.
- HDMI or VGA cable: To connect the adapter to the projector.
For wireless connections, you should ensure:
- Your Apple TV or Air Play-compatible projector is properly set up and connected to the same Wi-Fi network as your iPad.
Having the right tools in hand before starting will save you time and prevent unnecessary troubleshooting later.
Step 3: Connect the Hardware
Now, let’s dive into connecting your iPad to the projector. If you are using a wired connection, follow these steps:
- Plug the adapter into your iPad: Connect the Lightning adapter to your iPad’s charging port.
- Attach the HDMI or VGA cable: Connect one end of the cable to the adapter and the other end to your projector.
If you’re using a wireless connection, make sure your iPad is connected to the same Wi-Fi network as your Apple TV or Air Play-compatible projector. Once the devices are connected to the same network, you’re ready to move on to the next step.
Step 4: Switch the Projector Input
Once your iPad and projector are physically or wirelessly connected, it’s time to switch your projector to the correct input source.
- Wired connection: Most projectors will have an “Input” or “Source” button that allows you to toggle between inputs (HDMI, VGA, etc.). Select the one that matches the cable you are using to connect your iPad.
- Wireless connection: With Apple TV or an AirPlay-compatible projector, ensure that the projector is set to the Apple TV input.
This step is crucial to ensure that your iPad’s display will be shown on the projector.
Step 5: Enable Screen Mirroring
Now it’s time to mirror your iPad’s display onto the projector screen. The method for enabling screen mirroring will depend on whether you are using a wired or wireless connection.
- For a wired connection: Once the adapter is plugged into your iPad, it should automatically mirror your iPad’s display on the projector screen. If the display doesn’t appear automatically, check the projector’s input source.
- For a wireless connection: Swipe down from the top-right corner of your iPad screen to open the Control Center. Tap on Screen Mirroring, then select your Apple TV or AirPlay-compatible projector. Your iPad’s screen should now be displayed on the projector.
Step 6: Adjust Display Settings
After successfully connecting and mirroring your iPad screen, it’s important to optimize your display settings for the best viewing experience. If you’re using a projector, you may run into issues like distorted images or incorrect aspect ratios. Fortunately, you can easily resolve these problems by adjusting your iPad’s display settings or fine-tuning the projector’s settings menu. Ensuring proper settings will help enhance your presentations and viewing experiences, making them more enjoyable.
- Resolution: If the image appears blurry or unclear, adjust the resolution on connect your iPad to a Projector.
- Aspect ratio: Some projectors may require you to switch between 4:3 and 16:9 aspect ratios for optimal display quality.
Once everything is properly set up, your iPad’s screen will be mirrored onto the projector, allowing you to showcase presentations, videos, or other content on a larger display.
Essential Tips for Connecting Your iPad to a Projector
Successfully connecting your iPad to a projector may require a bit of preparation. Here are some valuable tips to ensure everything goes smoothly:
- Check Compatibility: Make sure that your projector supports the connection method you plan to use. Whether it’s HDMI, VGA, or AirPlay, compatibility is crucial to avoid technical issues.
- Keep Your iPad Charged: Always ensure that your iPad is fully charged or plugged into a power source, especially during long presentations or movie sessions.
- Test the Setup Beforehand: One of the best practices is to set up and test the connection before your actual event. This helps identify and troubleshoot any potential problems in advance.
- Update Software: Always ensure that your iPad and any connected devices (such as Apple TV) have the latest software updates. Outdated software can lead to compatibility issues.
- Bring Extra Cables: It’s a good idea to have spare adapters and cables on hand in case of malfunctions or breakage.
Conclusion
Connecting your iPad to a projector is easy and hassle-free. With a little preparation of the necessary equipment, you can effortlessly project your iPad screen for conferences, classes, or movie nights with friends. Follow these tips to ensure a seamless experience when displaying content from your iPad. Enjoy smooth presentations and entertaining gatherings without any complications!
To ensure a smooth meeting experience, start by gathering essential equipment: choose a projector and either an HDMI adapter or a wireless projector. Set up your projector well in advance to prevent any last-minute issues. Additionally, make sure to optimize the display settings for the best resolution possible. Proper preparation with the right projector can significantly enhance your presentations and meetings.
The guide gives information to users at ease when trying to project the images on screen from the iPad. If you need more guides in regard to technology and useful tips about optimizing your Apple device visit Solve My iOS where you will find iPad solutions. When sharing a slide show or even watching your dear movies, forget about the bulky screens and make use of your iPad without any hassle!


