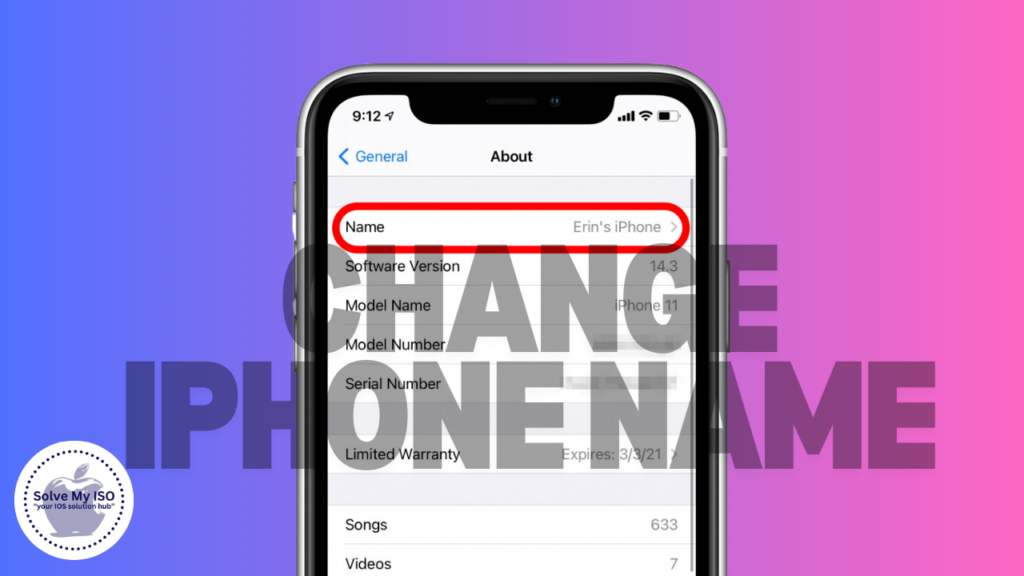
In today’s world of gadgets, customizing your devices is a must especially for those who use iPhones. One of the simplest and most powerful ways to make your iPhone unique is by changing its device name. It could be that you wish to differentiate it from other Apple products or maybe just give it a personal touch; nevertheless, Change Your iPhone’s Name is an easy procedure. This guide from Solve My IOS provides clear steps for each one so that your iPhone could be improved. Find out how to rename your iPhone now and get yours with a difference!
Why Change Your iPhone’s Name?
The default device name on an iPhone usually starts with “iPhone,” which can feel a bit impersonal, especially for tech enthusiasts or those who like to personalize their gadgets. Renaming your iPhone is a simple yet effective way to enhance your experience. Here’s how it can benefit you:
- Quick Device Identification: A unique name makes it easier to find your iPhone on Bluetooth and WiFi networks.
- Effortless Device Management: If you own multiple Apple devices, renaming helps you keep track of each one within your Apple ecosystem.
- Strengthen Your Connection: A personalized name fosters a deeper bond with your iPhone, making it feel more like a companion.
Consider renaming your iPhone to reflect your style and preferences—it’s a small change that can make a big difference!
Step-by-Step Guide to Renaming Your iPhone
Let’s dive into the simple steps to change the name of your iPhone to something more you.
Step 1: Access iPhone Settings Begin at your iPhone’s home screen and locate the Settings app, which features a gear icon. This app can typically be found on your main home screen or within your App Library. Accessing the Settings is the first step to customizing your iPhone and managing various features effectively.
Step 2: Access General Settings on Your iPhone To get started, scroll down in the Settings menu and tap on ‘General.’ This section contains essential settings and tweaks to optimize your iPhone’s operating system for better performance and user experience.
Step 3: Go to the About Section To access important information about your iPhone, simply tap on ‘About’ located at the top of the General settings list. Here, you’ll discover essential details that can help you better understand your device.
Step 4: Edit the Device Name The first line of the About section shows the name of your current device. Simply tap on it to access an editable field, allowing you to easily enter a new device name. This feature makes it simple to personalize your device and keep things organized.
Step 5: Set Your New Name To change your iPhone name, simply type your desired new name using the on-screen keyboard and click ‘Done’ when you’re happy with it. This name will be used to identify your iPhone across multiple services such as iCloud, iTunes, and when connecting to other devices, making it easier to manage and personalize your Apple experience.
Pro Tips for Naming Your iPhone
- Choose a Recognizable Name: Select a name that is easily identifiable and memorable for your audience.
- Avoid Special Characters: Use only letters and numbers to ensure your name displays correctly on all platforms and devices.
- Keep It Concise: Short and simple names are less likely to be cut off on different devices and networks, making them more user-friendly.
Conclusion
Giving your iPhone a new name is one of the easiest ways to make it unique and distinct. Also, this simple process will not only give you the right identity for your phone but also enable you to recognize it quickly in various tech jammed scenarios. In as few as three steps that don’t require much effort from you, select an appellation that matches your own brand and promotes better control over gadgets infrastructure. Click here to learn how to rename your iPhone for a more personal touch!