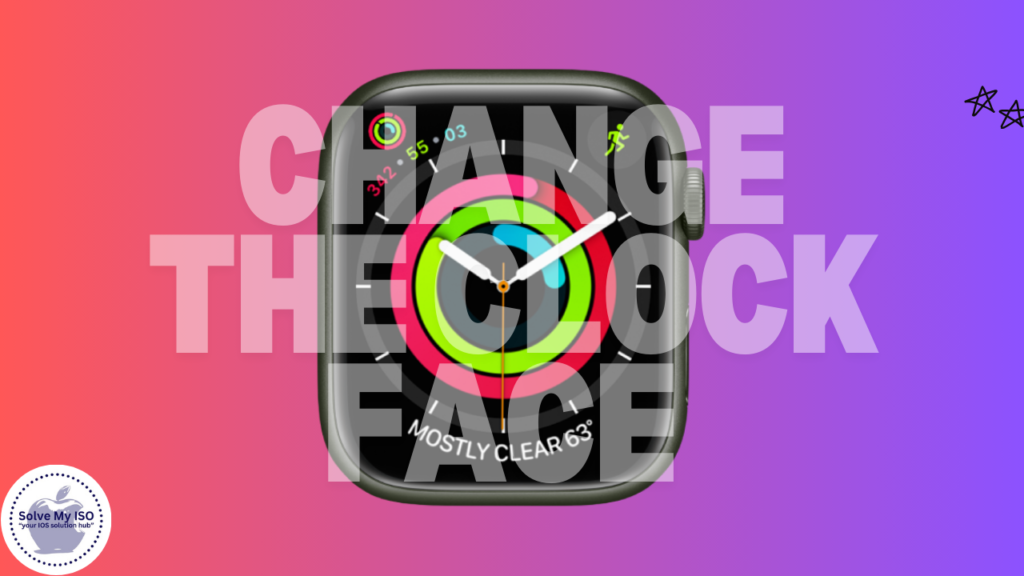
Aside from telling the time, the smartwatches have come to the rescue with many other benefits that include and go beyond just the watch. One feature that stands out is that the owner can change the watch’s face which is epitomized by smartwatches like the Apple Watch. You no longer need to buy another watch just to have a different looking watch. With the Apple Watch, all it takes is a few swipes of the fingers to change the watch face inconspicuously for a different watch face to match your mood, outfit or the occasion.
This is A Full Guide and in this guide, we have shown you how you can change the clock face on Apple watch from the watch itself or from the phone, and how to take advantage of the features. In addition to looking at how to change the current face of the watch we shall also look at how to remove and move the current watch faces. Hope you have learned something new about the Apple Watch and are ready to further anticipating what spinning time can be like.
Why Customize Your Apple Watch Face?
Before we jump into the steps involved in personalizing your Apple Watch face, it is good to first understand why personalization is necessary. An Apple Watch is more than just a gadget that tells the time; it is a multi-purpose device, which embodies a user’s identity, provides information, and even promotes his or her goals. Having this kind of personalization allows you to choose which and how much information you wish to be displayed on your watch face, be it regarding fitness levels, coming activities, world time zones, or anything else.
Female or male, sport or office wear, social or business activities – each has a separate Apple Watch face that serves your needs best. Improving your Apple Watch’s face is not only cosmetic but also practical. It further transforms the Apple Watch in your daily life into a more convenient device. Depending on the actual use of the Apple Watch, one can easily achieve either the beauty aspect or practicality of the device using the customized watch face.
How to Change Your Apple Watch Face Directly from the Watch
When it comes to changing your Apple Watch face, you have two primary methods at your disposal: long-pressing the watch face or swiping across the screen. Each method has its advantages, depending on how you prefer to interact with your device.
Method 1: Long-Pressing the Watch Face
The most straightforward way to change the Clock Face on Apple Watch is by long-pressing the current face. This method has become the default since Watches’ 10, replacing the previous swipe-based interaction. Here’s how to do it:
- Long-press the current watch face until you see an “Edit” button appear beneath it. This action will take you into the customization mode.
- Swipe left or right to scroll through the available watch faces. Each swipe will display a different watch face that you’ve previously added to your collection.
- If you wish to add a new watch face, swipe left until you reach the end of your current collection. You’ll see a screen with a (+) icon. Tap on it to open the watch face gallery.
- Select the watch face you want to add by tapping on the “Add” button. This face will be added to your collection and become available for selection.
- After adding the new face, you can customize its style and complications by swiping right or left. Once you’re satisfied with your customization, press the Digital Crown to set it as your default watch face.
This method is particularly useful for quickly switching between watch faces, especially if you want to change the face while on the go.
Method 2: Swiping on the Watch Face
For users who preferred the older method of swiping to change watch faces, there’s good news: Watches’ 10 reintroduces this feature, though it needs to be enabled first. Here’s how you can bring back this classic interaction:
- Open the Settings app on your Apple Watch.
- Scroll down to Clock and toggle on the switch next to “Swipe to Switch Watch Face.”
- Once enabled, you can swipe left from the right edge (or vice versa) of your screen to switch between the available watch faces.
- If you wish to edit or add new faces, simply long-press on the current watch face, just like in Method 1.
This method provides a more fluid and intuitive way of changing watch faces, especially if you’re used to the older interaction style.
How to Change Your Apple Watch Face Using Your iPhone
If you prefer a larger screen for customization, you can also change your Apple Watch face using your iPhone. The Apple Watch app on your iPhone offers a more detailed interface for managing watch faces, allowing you to explore and customize them in greater depth.
Adding a Watch Face via Your iPhone
The first step in customizing your watch face from your iPhone is to add the desired face to your collection. Here’s how:
- Open the Watch app on your iPhone. This app serves as the central hub for all things related to your Apple Watch.
- Tap on the Face Gallery tab at the bottom of the screen. This section contains a wide variety of watch faces that you can browse and select from.
- Browse through the gallery and tap on the watch face you want to add to your Apple Watch. Once selected, tap the “Add” button to include it in your collection.
Setting the Watch Face via Your iPhone
After adding the watch face to your collection, the next step is to set it as your current watch face:
- Navigate to the My Watch tab within the Watch app. This tab displays all the active watch faces currently available on your Apple Watch.
- Select the watch face you want to use. You can customize various aspects such as color, style, and complications directly from this screen.
- Once you’ve made your customizations, scroll down and tap on Set as current Watch face to apply the new face to your Apple Watch. The selected face will immediately update on your watch, reflecting the changes you made.
This method is ideal for users who prefer a more detailed and comprehensive approach to customization, offering the ability to fine-tune each aspect of the watch face.
How to Remove Watch Faces from Apple Watch
Over time, your collection of watch faces may become cluttered, especially if you frequently add new faces. Fortunately, removing unwanted watch faces is a simple process that can be done either directly on your Apple Watch or through your iPhone.
Method 1: Removing Watch Faces Directly on the Watch
To remove a watch face using the watch itself:
- Press and hold your current watch face until the customization mode appears.
- Swipe right or left to locate the watch face you wish to delete.
- Swipe up on the selected watch face and tap the Remove button to delete it from your collection.
This method is quick and efficient, allowing you to manage your watch faces without needing to use your iPhone.
Method 2: Removing Watch Faces Using Your iPhone
If you prefer using your iPhone to manage watch faces:
- Open the Watch app on your iPhone and go to the My Faces section.
- Select the watch face you want to delete, then scroll down and tap on Remove Watch face.
- Alternatively, you can tap the Edit button in the My Faces section and press the red (-) icon next to the watch face you want to remove.
This method offers a more detailed interface for managing multiple watch faces at once.
Conclusion
Customizing your Apple Watch face is not only an enjoyable feature but also a great way to make your device uniquely yours. Whether you prefer to switch faces directly on your watch or use the Watch app on your iPhone for detailed customization, Apple offers a seamless experience tailored to your preferences.
In this guide, you’ll discover easy steps to manage your Apple Watch faces, ensuring your device always reflects your personal style. Learn how to customize Apple Watch faces to fit your lifestyle and enhance your smartwatch experience with ease. Keep your Apple Watch in sync with your style and make it truly yours today!
For more tips, tricks, and guides on how to optimize your Apple devices, visit Solve My IOS. Keep your Apple Watch looking fresh and functional, just the way you like it.


