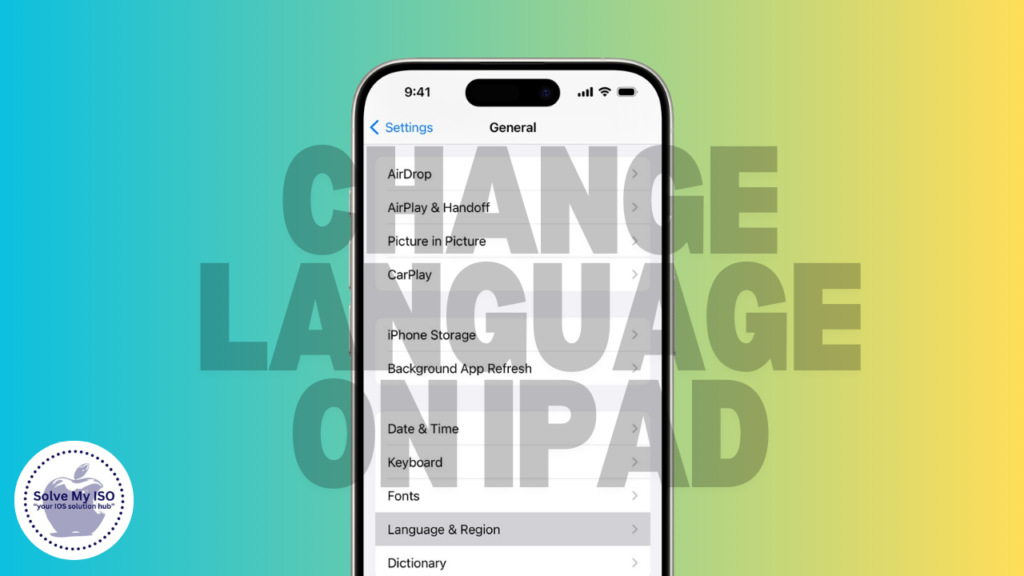
Changing the language on your iPad is a simple yet essential task for many users who may prefer to operate their device in a different language. Whether you’re bilingual, learning a new language, or just want to switch things up, this guide will walk you through the steps to change language on iPad with ease. By following these instructions, even a beginner can adjust the iPad’s language settings to better suit their needs.
Why Change Language on iPad?
Changing language on iPad can be beneficial for various reasons:
- Language Preference: If you prefer using your iPad in a language other than English, changing the device’s language settings can enhance your user experience. Making your iPad more user-friendly by selecting your preferred language allows for easier navigation and improved accessibility. Explore how to adjust your language settings for a better iPad experience!
- Learning a New Language: If you’re a beginner learning a new language, incorporating it into your devices can significantly enhance your learning experience. By using language apps, changing your device’s language settings, and practicing through digital tools, you can reinforce vocabulary and improve fluency. Embrace technology to accelerate your language learning journey!
- Traveling Abroad: When traveling abroad, changing your iPad’s language can significantly enhance your experience. By switching to the local language, you’ll find it easier to navigate your device and utilize local apps effectively. This simple adjustment can help you connect with the culture and make the most of your trip. Embrace the adventure and optimize your travel experience with your iPad!
No matter your reason, the process is quick and easy, even for a beginner.
Step-by-Step Guide to Changing the Language on Your iPad
Here’s how you can change language on iPad in just a few easy steps:
Step 1: Open the Settings App
If you’re a beginner looking to change your iPad’s language, the first step is to open the Settings app. You can easily find the Settings icon, which looks like a gear, on your Home screen. This simple guide will help you navigate your iPad settings and customize your device’s language preferences effortlessly.
Step 2: Navigate to General Settings
To access the general settings on your iPad for optimal performance, start by launching the Settings app. Scroll down to find the “General” option and tap on it. This will direct you to the main settings menu, where you can easily adjust various iPad settings to enhance your device’s performance and user experience. Explore these essential settings to customize your iPad today!
Step 3: Select Language & Region
Go to the General settings and find the “Language & Region” option. This section allows you to customize the language preferences for your device, ensuring an optimal user experience tailored to your needs. Adjusting these settings can enhance your iPad’s functionality and usability.
Step 4: Choose iPad Language
Tap on “iPad Language.” This will display a comprehensive list of all the languages supported by your device. With this user-friendly list, you can easily find and select your preferred language for a personalized iPad experience. Whether you want to switch to Spanish, French, or any other language, customizing your iPad’s language settings is simple and straightforward!
Step 5: Select Your Preferred Language
Explore our language list to easily find your preferred option. Simply tap on your choice, and a confirmation pop-up will appear to finalize your selection. Enhance your user experience by effortlessly selecting the right language for you! Choose wisely and enjoy seamless navigation in the language you love!
Step 6: Confirm Your Language Choice
To complete the language change on your iPad, simply tap “Change to [Language]” in the confirmation pop-up. Your iPad will then switch to the new language, which may take a few moments. Enjoy using your device in your preferred language!
Tips for Changing the Language on Your iPad
Changing the language on your iPad is a smooth process, but here are some tips to ensure everything goes as planned, especially if you’re a beginner:
- Back Up Your Data: Before making any changes, it’s always wise to back up your iPad. This ensures you don’t lose any important data in case something goes wrong.
- Familiarize Yourself with the New Language: For beginners, make sure you have a basic understanding of the new language to avoid getting lost in the settings.
- Restart if Necessary: If the language doesn’t update immediately, a quick restart might be necessary to complete the change.
- Revert if Needed: If you find navigating difficult in the new language, you can easily revert to your original language by following the same steps.
Conclusion
For beginners, changing the language on your iPad is a quick and effective way to customize your device to better suit your preferences. Whether you’re using your iPad to learn a new language or simply prefer to navigate in your native tongue, following these steps will ensure a smooth transition. Remember, if you encounter any issues, you can always revert to your original settings or explore other customization options.
By mastering this simple task, you’re opening up a world of possibilities for making your iPad experience more personalized and enjoyable. Don’t hesitate to explore other settings and features that can enhance your usage even further.
For more tips and tricks on how to get the most out of your iPad, be sure to check out other articles on Solve My IOS.