In today’s digital age, keeping your data both safe and sound is the top priority. back up iPhone to Mac can not only secure your information, it also makes it more convenient if things go wrong. Doing so is an incremental and progressive process, for amateurs as well. You will learn with this instruction so that your operation is just one stick away at each stop on the way to completion.
Why Backing Up Your iPhone Data is Crucial
Backing up ensures that everything from photos and contacts to messages, app data–everything you consider to be an important part of your daily life–is stored safely. This not only increases protection from data loss but also makes transferring data to a new device simpler than ever before. In this guide, we will cover several ways to back up your iPhone on your Mac.Getting Your Devices Neat and TidyReady on Your Mac
Before beginning the backup process, make sure your Mac is properly set up:
- Software Requirements: Ensure your Mac is running macOS Catalina or later. Older versions use iTunes for backups.
- Checking for macOS Updates: Go to the Apple menu, select “System Preferences,” then “Software Update,” and install any available updates.
Preparing Your iPhone
Your iPhone should also be ready for backup:
- Ensuring iOS is Up to Date: Navigate to Settings > General > Software Update on your iPhone and install any available updates.
- Checking Storage Availability: Ensure your iPhone has enough free space to complete the backup process without interruptions.
Back Up iPhone Using Finder
Connecting Your iPhone to Mac
- Using a USB Cable: Connect your iPhone to your Mac using the appropriate USB cable.
- Trusting the Computer on Your iPhone: If prompted, select “Trust This Computer” on your iPhone.
Navigating Finder
- Locating Your iPhone in Finder: Open Finder and locate your iPhone under “Locations” in the sidebar.
- Overview of Finder Interface: Click on your iPhone to view its summary page, which includes details about your device and backup options.
Initiating the Backup
- Selecting “Back Up Now”: On the summary page in Finder, click “Back Up Now.”
- Choosing Backup Options: Decide whether you want to encrypt your backup. Encrypted backups save passwords and health data.
Back Up iPhone Using iTunes
For those using macOS Mojave or earlier, iTunes is the app to use for backups.
Installing and Opening iTunes
- Downloading iTunes: If iTunes is not already installed, download it from the Apple website.
- Opening and Connecting Your iPhone: Launch iTunes and connect your iPhone using a USB cable.
Navigating iTunes
- Locating Your Device in iTunes: Click on the iPhone icon near the top left corner of the iTunes window.
- Overview of iTunes Interface: The summary page provides information about your iPhone and backup options.
Starting the Backup
- Selecting “Back Up Now”: In the summary section, click “Back Up Now.”
- Choosing Between Encrypted and Non-Encrypted Backups: Decide whether to encrypt your backup to include sensitive data like passwords.
Automating Backups with iCloud
For those who prefer wireless backups, iCloud offers an efficient solution.
Enabe iCloud Backup
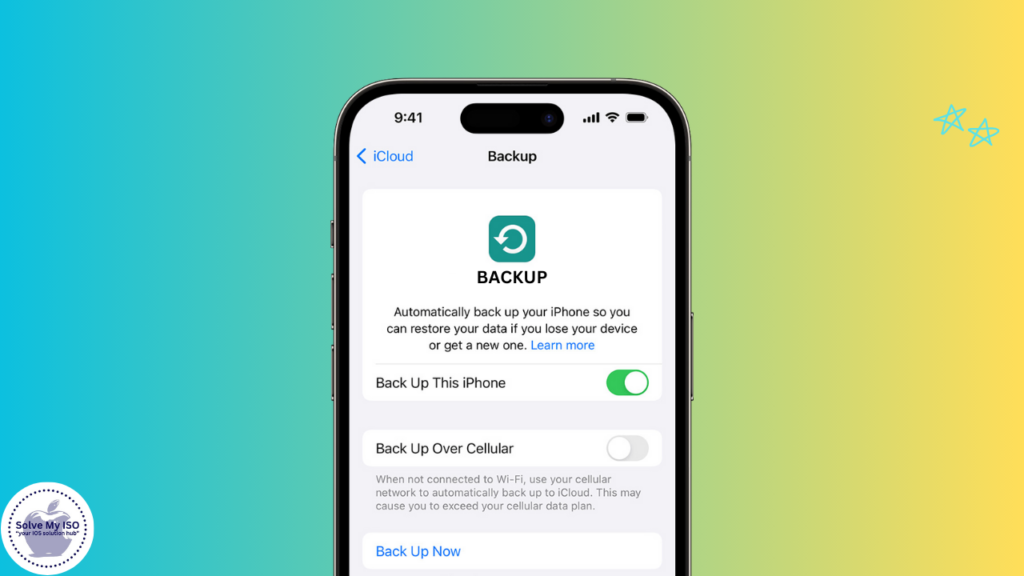
- Turning on iCloud Backup on Your iPhone: Go to Settings > [your name] > iCloud > iCloud Backup and turn on iCloud Backup.
- Ensuring Wi-Fi Connection: Make sure your iPhone is connected to Wi-Fi throughout the backup process.
Managing iCloud Storage
- Checking Available Storage: Go to Settings > [your name] > iCloud > Manage Storage to see how much storage is available.
- Purchasing Additional Storage if Needed: If you need more space, you can buy additional iCloud storage directly from the Manage Storage section.
Restoring from iCloud Backup
- How to Restore from an iCloud Backup: During the setup of a new iPhone, choose “Restore from iCloud Backup” and follow the prompts.
Troubleshooting Common Issues
Common Backup Errors and Fixes
- Addressing Connection Issues: Make sure your devices are properly connected and recognized by your Mac.
- Resolving Storage Problems: Free up space on your iPhone or Mac if storage is insufficient for the backup.
Ensuring Backup Completeness
- Verifying Backup Success: Check the latest backup date and time in Finder or iTunes to confirm the backup was successful.
- Checking Backup Integrity: Regularly restore from a backup to ensure data integrity.
When to Seek Professional Help
- Indicators That Professional Assistance is Needed: If backups consistently fail or you encounter errors you can’t resolve, it may be time to consult Apple Support or a professional technician.
FAQs: Semantically Related Questions
Backing up your iPhone to your Mac ensures that your valuable data is always safe and easily recoverable. By following these clear, step-by-step instructions, you can confidently secure your information and enjoy peace of mind knowing y
