If you are an iPhone user, a passionate photography lover, or a new computer learner and want to transfer photos from iPhone to your computer, then you are in the right place. This article will show you how you can transfer photos from iPhone to computer and make sure that your valuable memories can be saved easily. Let’s dive in!
Using USB Cable
Connecting iPhone to Windows PC
Connect your iPhone to your Windows PC using a USB cable of any type. Make sure your iPhone is unlocked since this is an important requirement for the connection to be detected. You may also have to press ‘Trust This Computer’ on your iPhone.
Transfer Photos Using File Explorer
After connecting, go to your Windows computer and open the File Explorer. You should get your iPhone as one of the devices detected. Click on the Desktop option, then go to the DCIM folder to view your photos. From here, you can easily drag and drop your photos to a folder of your computer.
Importing Photos via Photos App
There is also the Photos app for Windows you may use as well. In the Photos app, click on the ‘Import’ button and choose ‘From a connected device’ and then follow the on-screen options to import the photos.
Using iCloud
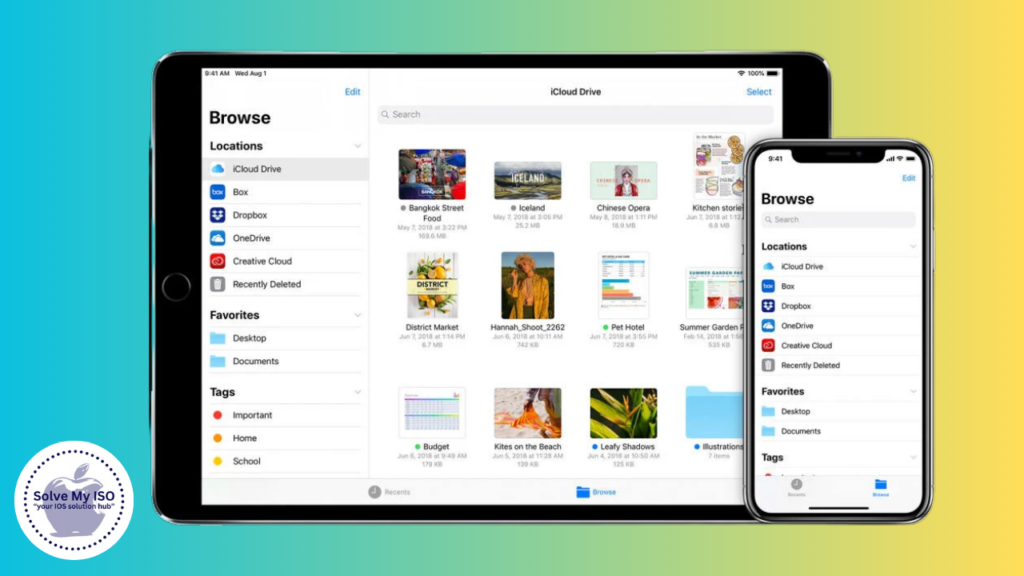
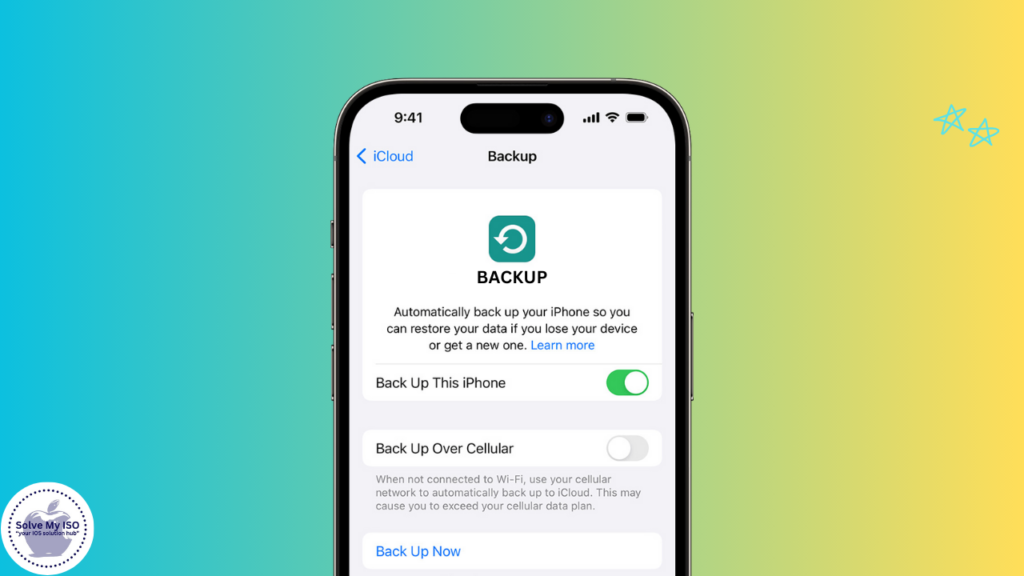
Setting Up iCloud Photos
Want to keep your photos safe and accessible on all your devices? Make sure iCloud Photos is turned on! Here’s how:
- Open Settings.
- Tap on your name.
- Select iCloud.
- Go to Photos.
- Toggle on iCloud Photos.
That’s it! Your photos will now be securely stored and available across all your Apple devices.
Access iCloud Photos on Computer
To view your iCloud photos on your computer:
- Go to iCloud.com.
- Log in using your Apple ID.
- Click “Photos” to see all your saved pictures.
Downloading Photos from iCloud
To download your photos from iCloud, follow these simple steps:
- Select Photos: Choose the photos you wish to download.
- Click the Download Icon: Hit the download button to save them to your computer.
By doing this, your photo collection will stay synchronized across all your devices.
Using Airdrop
Setting Up AirDrop on iPhone
Transferring photos to your Mac is a breeze with AirDrop. Here’s how to get started:
- Enable Wi-Fi and Bluetooth:
- Swipe up from the bottom of the screen, or down from the top-right corner on iPhone X or later, to open the Control Center.
- Make sure both Wi-Fi and Bluetooth are turned on.
- Activate AirDrop:
- In the Control Center, tap the AirDrop icon to enable it.
That’s it! You’re ready to transfer your photos seamlessly.
Transfer Photos to Mac
- Enable AirDrop on your Mac via Finder.
- Select Photos on your iPhone.
- Tap Share Icon and choose your Mac under AirDrop.
That’s it! Your photos will be transferred seamlessly.
Troubleshooting AirDrop Issues
In case of problems, make sure both devices are discoverable, Wi-Fi and Bluetooth are on, and Air Drop is set to accept files from contacts or from anyone.
Using Google Photos
Installing and Setting Up Google Photos
Download and install the Google Photos app from the App Store. Open the app, sign in with your Google account, and enable backup and sync.
Uploading Photos to Google Photos
Google Photos will automatically upload your photos to the cloud. Ensure you’re connected to Wi-Fi to avoid data charges.
Accessing Photos on Computer
Visit photos.google.com on your computer and log in with your Google account. From here, you can view and download your photos.
Using Email or Messaging Apps
Emailing Photos to Yourself
For smaller batches of photos, you can email them to yourself. Select the photos, tap the share icon, choose Mail, and send them to your own email address.
Using Messaging Apps for Photo Transfer
Apps like WhatsApp or Telegram can also be used. Send the photos to yourself or a trusted contact, then download them from the app on your computer.
Saving Photos from Email or Messaging Apps
Open your email or messaging app on your computer, download the photos, and save them to your desired location.
Using Third-Party Apps
Popular Photo Transfer Apps
Apps like PhotoSync, Send Anywhere, and Dropbox offer robust solutions for transferring photos.
Setting Up and Using Transfer Apps
Download your chosen app on both your iPhone and computer, follow the setup instructions, and use the app’s features to transfer your photos.
Ensuring Security and Privacy
Always check the privacy policies of third-party apps to ensure your data is secure. Opt for apps with good reviews and a strong reputation.
Using External Storage Devices
Using USB Flash Drives
iPhone-compatible USB flash drives, such as SanDisk iXpand, allow direct transfer from your iPhone to the drive, which can then be connected to your computer.
Using External Hard Drives
Similar to USB flash drives, some external hard drives are designed for iPhone compatibility. Use the accompanying app to transfer photos to the drive.
Managing and Organizing Transferred Photos
Once transferred, organize your photos into folders on your computer to keep them easily accessible and manageable.
Troubleshooting Common Issues
Fixing Connection Problems
Ensure your iPhone is unlocked and you’re using a reliable cable. Restart both devices if the connection isn’t recognized.
Resolving Transfer Errors
Check for software updates on both your iPhone and computer. Sometimes, outdated software can cause transfer issues.
Handling Large Photo Libraries
For large photo libraries, consider using cloud storage solutions like iCloud or Google Photos to avoid overwhelming your computer’s storage capacity.
Frequently Asked Questions
For more tips and guides on maximizing your iPhone experience, visit our site at Solve My IOS


